 Jupyter Notebook 更换默认 Shell
# Jupyter Notebook 的 Shell 功能
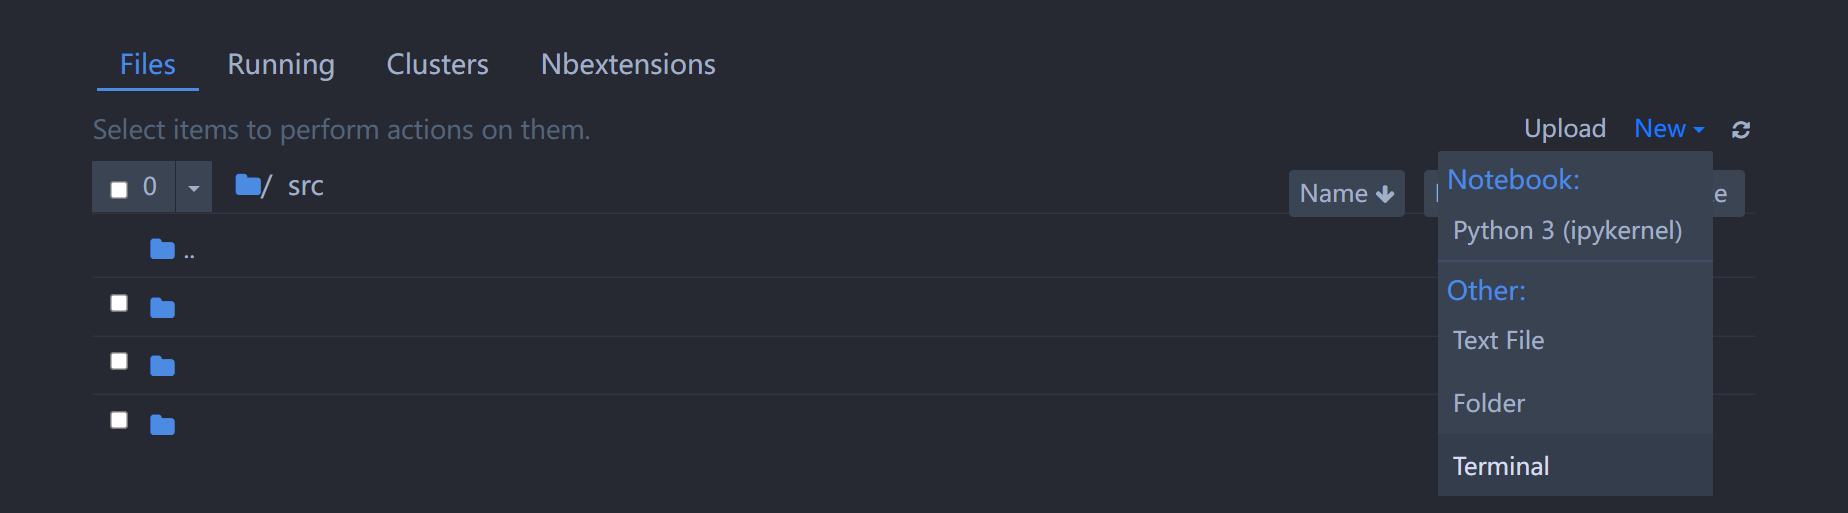
Jupyter Notebook 除了提供各式各样的 Kernel 以支持不同的编程语言(默认仅提供基于ipykernel的 Python 3 内核,其他内核需要自行安装),还提供了 Terminal 菜单让用户像使用 Web Shell 一样使用 Shell 终端,用户可以借助这个 Terminal 菜单,在 Web 中打开新选项卡访问设备的默认 Shell ,在其中执行各类 Shell 命令。
# Windows 上的默认 Shell
我使用的环境分别是 Windows 10 的家庭中文版和专业版。在 Windows 中,Jupyter Notebook 会选择 powershell.exe作为 Terminal 菜单的默认启动 Shell 。
我在专业版上常用的正是 Windows Powershell ,powershell.exe作为 Jupyter Notebook 默认启动 Shell 恰到好处。但我在家庭中文版中通过 Microsoft Store 安装了 Powershell Core 7 和 Windows Terminal ,并一直将pwsh.exe作为我的常用 Shell 。
由于我还使用了 Microsoft OneDrive ,Windows Powershell 和 Powershell Core 的相关配置文件会被『上云』并在两台设备中漫游,但因为两台设备的磁盘分区和目录结构不完全相同,导致专业版的 Windows Powershell 配置无法直接在家庭中文版上正常加载,严重影响使用体验。
有没有什么办法可以在家庭中文版上修改 Jupyter Notebook 配置,将 Powershell Core (即pwsh.exe)作为其 Terminal 界面的默认 Shell 呢?
# 修改 Jupyter Notebook 配置文件
Jupyter Notebook 安装完成后,并没有任何的配置文件,一切的配置都内置在 Jupyter Notebook 相关的程序代码中。我们需要从 Jupyter Notebook 内置设置中生成一份配置文件『模板』,并对其进行修改。
我自己使用的是 Miniconda 3 ,并在项目中使用了 Conda 虚拟环境。如果你安装了来自于 python.org 的官方 Python 发行版,使用的是 Virtualenv 虚拟环境,操作也是相同的。此处,我默认你在执行后续操作的过程中已经激活了正确的虚拟环境。
执行
jupyter notebook --generate-config命令,生成~/.jupyter/jupyter_notebook_config.py配置文件;使用任意编辑器打开配置文件,在第 487~492 行找到如下所示的代码片段:
## Supply overrides for terminado. Currently only supports "shell_command". On
#  Unix, if "shell_command" is not provided, a non-login shell is launched by
#  default when the notebook server is connected to a terminal, a login shell
#  otherwise.
#  Default: {}
# c.NotebookApp.terminado_settings = {}
修改片段中的最后一行为如下内容:
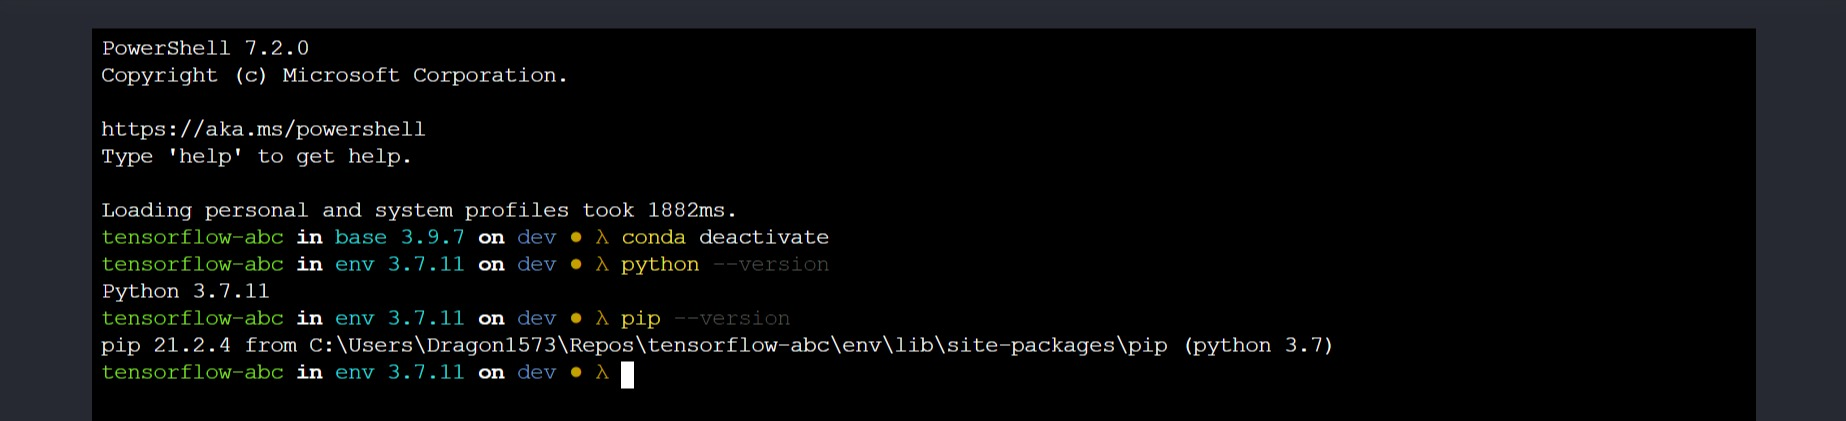
c.NotebookApp.terminado_settings = {'shell_command': 'pwsh'}保存文件并退出,重新启动 Jupyter Notebook ,进入 Terminal 会话,可以看到加载的 Shell 已经成功地更换为 Powershell Core 。